For Even More Intensity and a Great Muscle Strengthening Workout
By “Weights”, I Don’t Mean Dumbbells or Barbells
First of all, I want to stress that you do not need weights for rebounding. This is optional but you can really emphasize muscle toning and strength, particularly for the upper body, if you use weights while you rebound.
When someone says the word “weights” people tend to automatically think about dumbbells, barbells, or some other type of weight normally associated with a typical gym. This is not the case here. Any of these types of weights will be far too heavy for use on a rebounder and if you drop one of these types of weights, you could injure yourself (dropping a weight on your foot is never fun) or damage your rebounder’s mat or its frame.
You Don’t Need Heavy Weights for Rebounding!
The weights I suggest you use while rebounding are only one, two, or three pounds. Yes, only one, two, or three pounds. Why? Well, with rebounding, at the bottom of each bounce and depending on how high you are jumping and what type of rebounder you are using, the amount of gravitational force is increased on your body two, three, four, or even fivefold. This makes the weight feel much heavier at the bottom of the bounce than it actually is. By the way, this increase in gravitational force on your body is what makes rebounding so beneficial to you. If you want to learn how this works and what it can do for you, read the homepage of this website by clicking here and read all about the benefits by clicking here.
The Weights I Use and Recommend
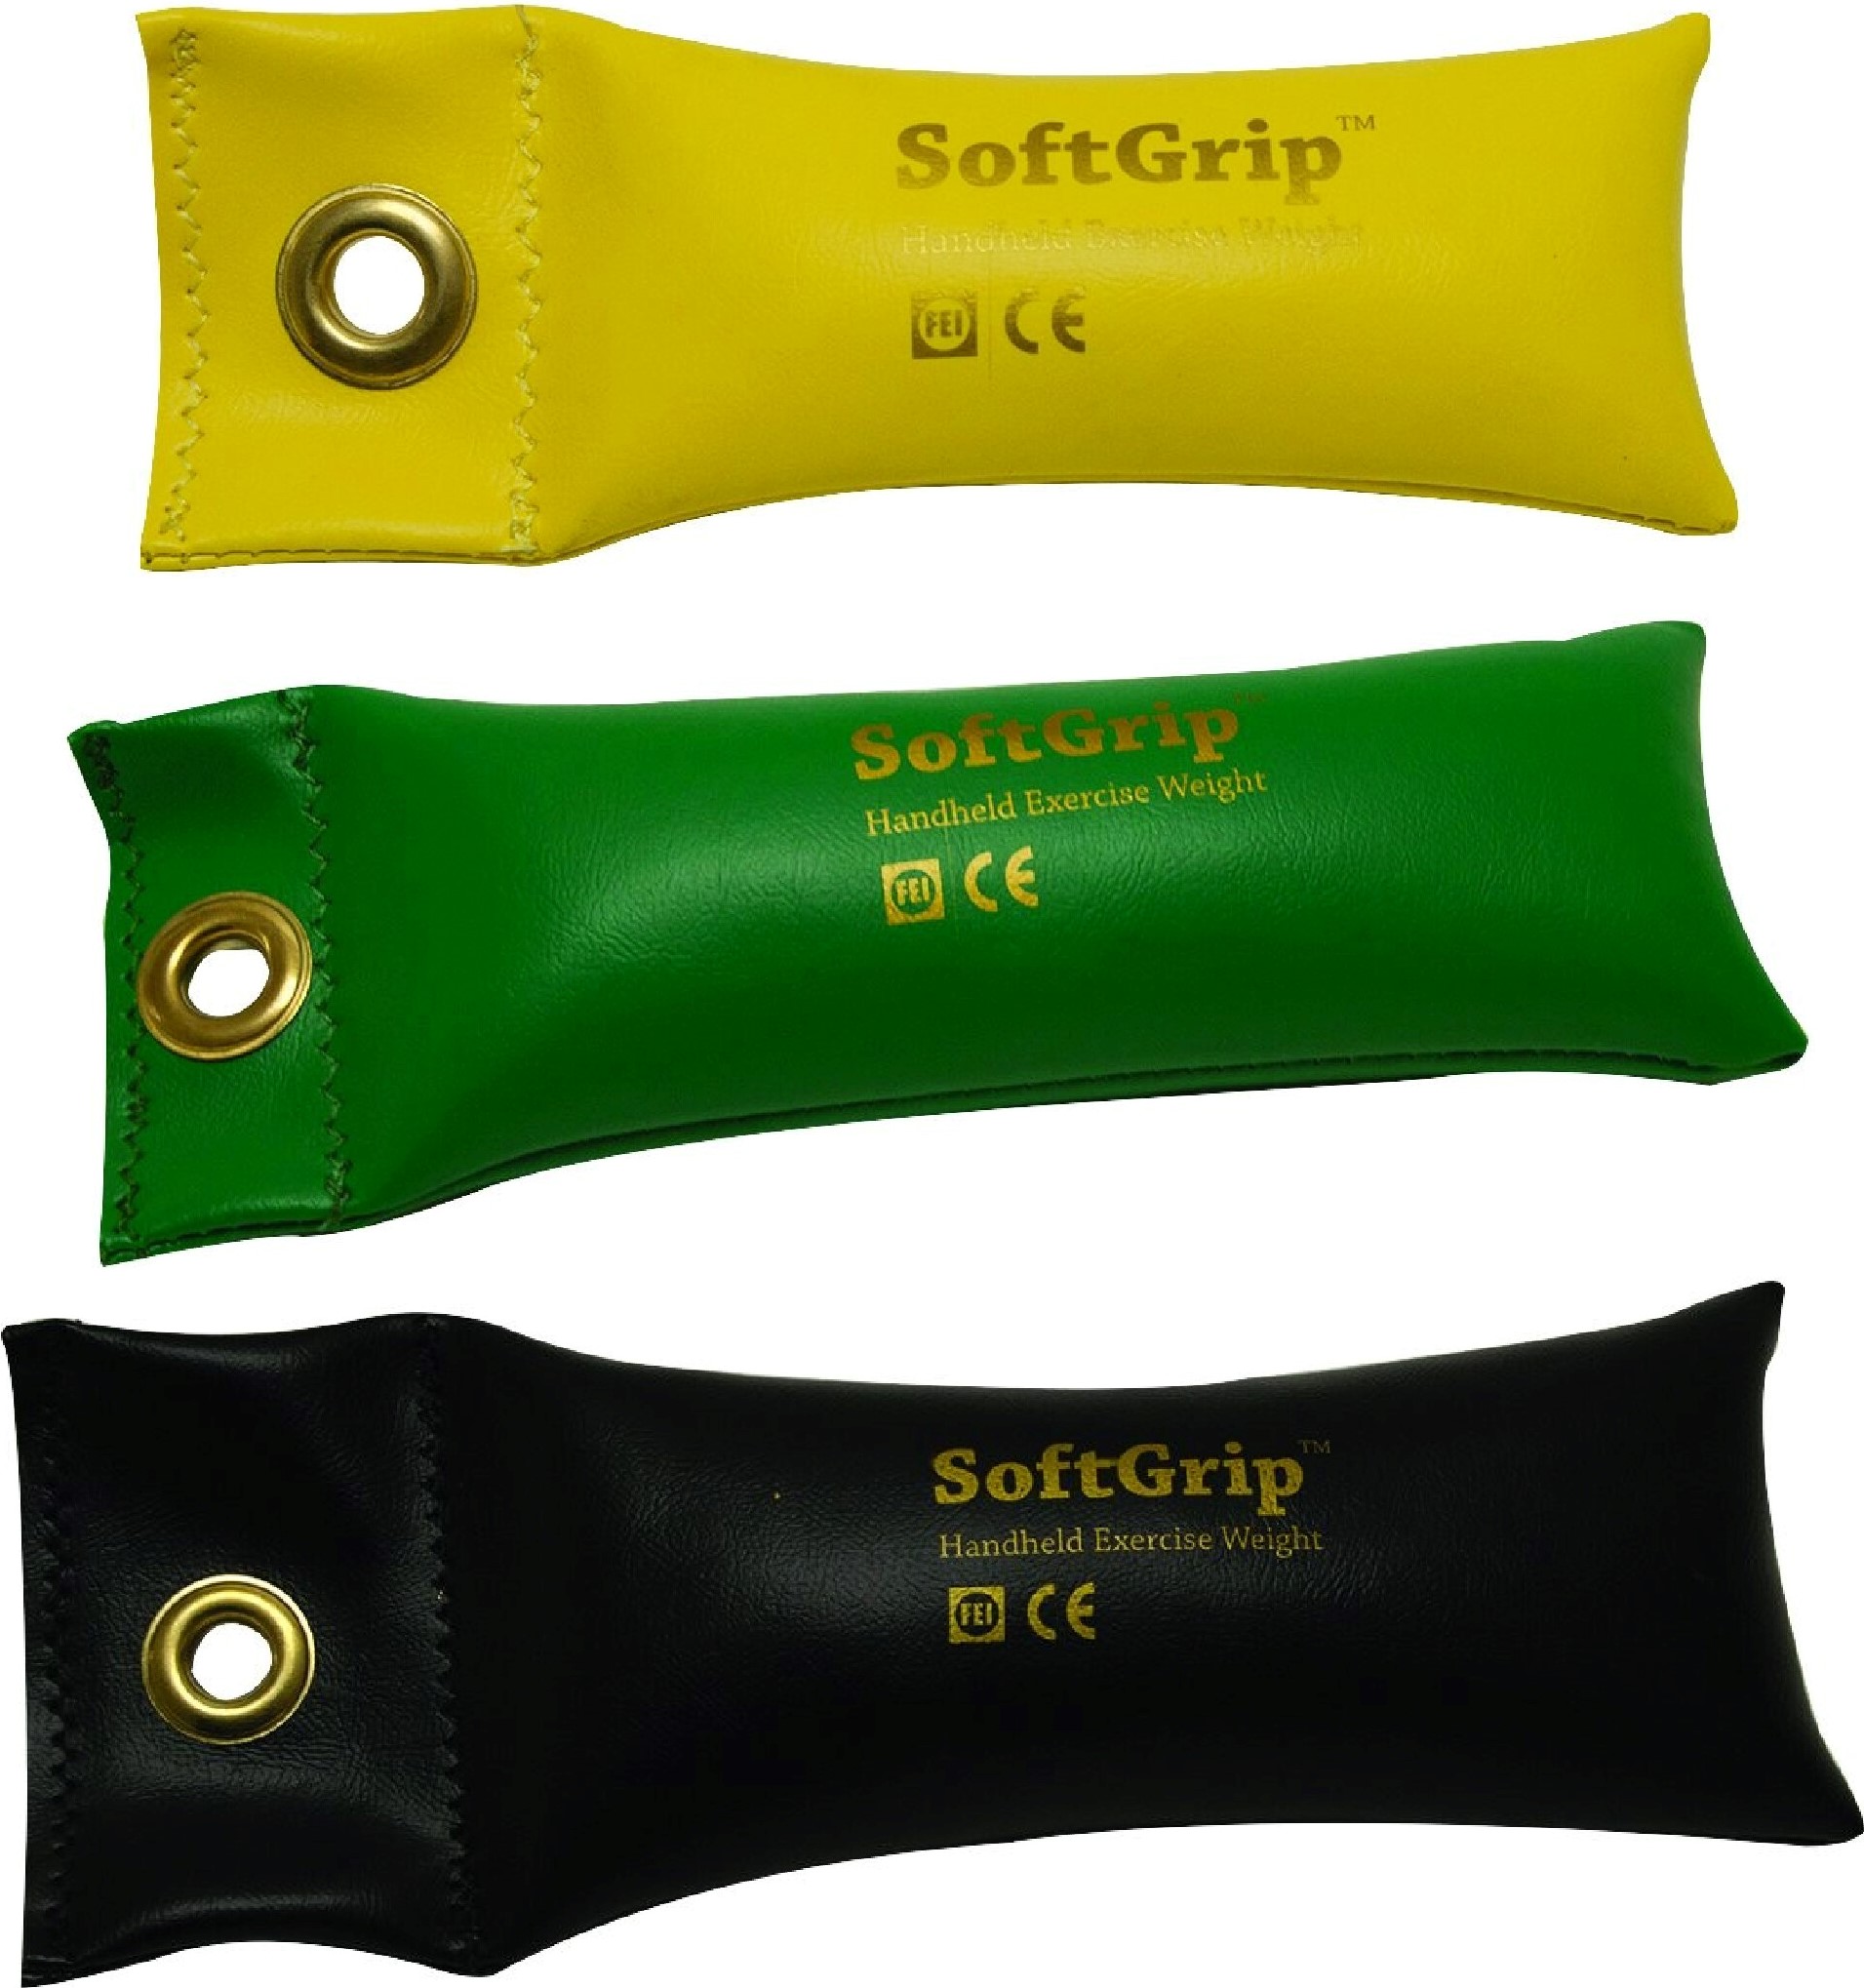
Let’s talk about the weights themselves. The weights I personally own are called CanDo® SoftGrip hand weights. They are basically made of a thick stitched vinyl and filled with metal grains. The metal grains are so finely cut, I initially thought the weights were filled with sand. Remember, they are filled with metal grains, not metal shavings, so you’ll never have to worry about a piece of metal coming through the vinyl and jagging you in the hand.
I’ve owned these weights for several years and they are of very high quality—the stitching has never come undone, and no metal shavings have ever leaked out of these weights. They are very comfortable to hold in your hands and even if you were to drop one on your foot or on the rebounder, you would not hurt yourself and you would cause no damage to the rebounder.
CanDo® makes these hand weights in weights from 0.5 lbs. all the way up to 10 lbs. but I recommend not going beyond 3 lbs. If you are going to pursue rebounding with weights, make sure you purchase a pair of identical weights, not just one weight.
You can Google “CanDo SoftGrip” and you’ll find many places that sell these weights but the best price and availability I’ve seen is on Amazon.
Here’s Another Really Good Hand Weight
The company that makes the finest bungee rebounder on the market, bellicon® (you can read all about the bellicon® rebounder itself by clicking here), also makes 1 lb. and 2 lbs. hand weights. Unlike the CanDo® weights, these weights are each equipped with an adjustable hand strap, so you’ll always have a secure grip. The weights are made of latex free vinyl that are also filled with metal grains.

My Routine
I would never tell you how great something is without then giving you the proper guidance necessary to do it! Therefore, I’ve included my personal routine that I follow when I’m rebounding with weights. With each exercise, I explain the proper form and how to get comfortable with the excise before you actually start performing it on a regular basis.
I begin here with describing each exercise but after the descriptions, I will break down my sequence (in what order do I do each exercise and how many times).
The Warmup
Never do any type of vigorous rebounding workout with first warming up. You don’t want to pull a muscle or worse. You’ll begin with a few minutes of gentle bouncing. This will get every part of the body moving. Every muscle will be warmed up and more supple and your heartrate will naturally begin to elevate. This will prime your body for the more vigorous exercises to come.
The Health Bounce
Also known as The Baby Bounce, this move simply involves standing in an upright, but comfortable and relaxed position with your arms down by your sides and legs about shoulder width apart. Lift the heels of your feet off of the mat and bring them back down. The balls of your feet and your toes never leave the mat, only your heels do. Do this for one to two minutes.
The Standard Bounce
This is similar to the Health Bounce except your feet will be leaving the mat entirely because you’re jumping higher. Stand in an upright but relaxed position with your arms down by your sides and feet about shoulder width apart but lift the heels of your feet with more force so your feet come up off the mat entirely before you come back down. How you land at the bottom of the bounce is up to you. Most people come down on the balls of their feet because that is most natural way to land when you jump. Landing on the balls of your feet and then transitioning back on your heels (which happens in a split second), is how you instinctively land on a hard surface without feeling a jarring effect or injuring yourself. However, if you land on the rebounder mat “flat-footed”, that’s okay too because the rebounding mat and spring or bungee system is designed to absorb the impact. Once you get used to this motion, try bending your knees slightly once you land and back on the way up to start jumping even higher. Also do this for one to two minutes.
The Workout
Now the real work begins.
Overhead Press while Bouncing
Have you ever done an overhead press with dumbbells? The form and motion on this exercise is quite similar. Stand on the rebounder with your back straight (no rounded back or slumping of the shoulders). Grab your two weights (both weights must weigh the same—not 1 lb. weight in one hand with a 3 lbs. weight in the other hand; this will throw off your balance). With both weights firmly grasped, get into the starting position for an overhead press (if you are not familiar with an overhead press, please search “how to perform an overhead press with dumbbells” using your favorite internet search engine). Now, from here, begin bouncing as you would with the Health Bounce but with your arms in the overhead press starting position. Once you get the feel for being in this position, tense up both your arms. With your arms tense and hands tightly clinching the weights and while bouncing, begin to move your arms upwards, just like you were doing a standing overhead press. Once your arms get to the top (your arms are straight and your elbows are locked out), bring your arms back down to the starting position. Remember, this is all done while bouncing. Repeat this until you feel your arms and/or shoulders fatigued, and/or you start running out of breath.
This is a great exercise for the upper body but please practice for as long as it takes to build proper form and rhythm. You’ll notice that when you’re at the bottom of a bounce, that’s where the most weight resistance will occur. Depending on how slowly you’re progressing through each press, you might bounce three or four times. The more slowly you progress through each rep, the more focused, isometric resistance is on the arms and shoulders, which is the point of this exercise. The more quickly you progress through each rep, the focused resistance become more isotonic and the more it becomes a cardiovascular exercise.
I recommend starting slowly and finding the rhythm that is most comfortable for you. Once you learn how to control the movements, you can begin jumping higher (more like the Standard Bounce where your feet leave the mat). This will place even more focused resistance on the arms and shoulders as you progress through each rep.
Lateral Shoulder Raise while Bouncing
This is a great exercise for further developing the shoulders after the overhead press. If you are not familiar with a shoulder raise, please search “how to perform a lateral shoulder raise” using your favorite internet search engine.
Pick up your two weights and step onto the rebounder. With back straight, have both arms straight and down at your sides with the palms of your hands facing in towards your legs. This is the starting position for the lateral shoulder raise. Now, from the starting position, keeping both of your arms straight or slightly bent at the elbow, raise the weights out to your sides to shoulder level. Your body will be in the shape of a cross. Hold this position for around one second then bring you arms back down to the starting position. This is all done while bouncing. Repeat this until you feel your shoulders fatigued, and/or you start running out of breath.
Please practice this motion for as long as it takes to build proper form and rhythm. You’ll notice that at the bottom of a bounce, that’s where the most weight resistance will occur. Depending on how slowly you’re progressing through each shoulder raise, you might bounce three or four times. The more slowly you progress through each rep, the more focused, isometric resistance is on the biceps, which is the point of this exercise. The more quickly you progress through each rep, the focused resistance become more isotonic and the more it becomes a cardiovascular exercise.
I recommend starting slowly and finding the rhythm that is most comfortable for you. Once you learn how to control the movements, you can begin jumping higher (more like the Standard Bounce where your feet leave the mat). This will place even more focused resistance on the biceps as you progress through each rep.
Bicep Curl while Bouncing
If you are not familiar with a bicep curl, please search “how to perform a bicep curl” using your favorite internet search engine.
Grab your two weights and step onto the rebounder. With back straight, have both arms straight and down at your sides with the palms of your hands facing your front. This is the starting position for the bicep curl. Now, from here, begin jumping as you would with the Health Bounce but with your arms in the bicep curl starting position. Once you get the feel for being in this position, tense up both your arms. With your arms tense and fists clinching the weights and while bouncing, begin to move your forearms upwards, rotating only at your elbow joints, just like you were doing a standing bicep curl. Once you get to the top of the curl (your fists will be at approximately the same height as your shoulders), bring your forearms back down to the starting position. Remember, this is all done while bouncing. Repeat this until you feel your arms and/or shoulders fatigued, and/or you start running out of breath.
Please practice this motion for as long as it takes to build proper form and rhythm. You’ll notice that at the bottom of a bounce, that’s where the most weight resistance will occur. Depending on how slowly you’re progressing through each curl, you might bounce three or four times. The more slowly you progress through each rep, the more focused, isometric resistance is on the biceps, which is the point of this exercise. The more quickly you progress through each rep, the focused resistance become more isotonic and the more it becomes a cardiovascular exercise.
I recommend starting slowly and finding the rhythm that is most comfortable for you. Once you learn how to control the movements, you can begin jumping higher (more like the Standard Bounce where your feet leave the mat). This will place even more focused resistance on the biceps as you progress through each rep.
Ski Jumps
In my opinion, there is no better rebounding exercise for the legs than this. This exercise, however, takes a fairly high level of skill so please take some time to develop your strength, coordination, balance, and familiarity with rebounding before attempting this exercise.
Unlike the exercises described above, you will not be using any hand weights on this exercise because it focuses on the legs instead of the upper body.
Begin by standing on the rebounder normally and in an upright position (back is straight). With your feet together, bend at your knees slightly. While keeping both feet together and knees slightly bent, jump from one side of the rebounder mat to the other, all the while keeping your feet together and keeping your knees slightly bent. Continue to jump side to side until your legs are fatigued and/or you run out of breath.
Start out by having your knees only slightly bent. As you gain strength and familiarly with this exercise, start bending your knees even more as you jump. You’ll notice that the more your knees are bent, the more quickly your legs wear out. This is because the more your knees are bent, the more isotonic tension and focused resistance is being applied to your entire legs.
Never jump so far from side to side that you land on the springs or bungees of your rebounder. This could potentially injure your feet or toes.
My Sequence
Warmup
- Health Bounce (1 minute)
- Standard Bounce (2 minutes)
Workout Sequence (I try to do four rounds of the following):
- Overhead Press while Bouncing (until my arms and/or shoulders are tired)
- Lateral Shoulder Raise while Bouncing (until my shoulders are tired)
- Bicep Curl while Bouncing (until my biceps are tired)
- Ski Jumps (until my legs are tired and/or I’m out of breath)
- Mixture of Health Bounce and Standard Bounce (until I regain my breath and I feel sufficiently recovered from the previous exercises to begin all over again with the Overhead Press while Bouncing)
Cool Down
- Health Bounce (1 minute or until I feel sufficiently recovered to step off the rebounder and walk about normally)
You Can’t Even Get Started If You Don’t Have the Right Tool!
You must have the right rebounder whether you are going to rebound with weights or not. There are only two rebounders I recommend. They are the Cellerciser® and the bellicon®. I own one of each and use both very frequently. The Cellerciser® uses springs as its support system while the bellicon® uses bungees as its support system. The Cellerciser® is the best spring-based rebounder money can buy while the bellicon® is the best bungee-based rebounder money can buy. You can learn all about the Cellerciser® by clicking here and you can learn all about the bellicon® by clicking here.
If you’ve already read about each rebounder and know what you want, click the buttons below to make your purchase.

